Building a animated 4 legged animal with white_dune 4kids and white_dune
This tutorial is long, difficult (cause it requires both the 4kids and
the complicated full version of white_dune) and the result is not prefect.
You should have read another dune4kids tutorial first.
This tutorial requires white_dune
version 1.250 or higher.
Building the body and legs
We begin with the menu command Change -> Show (sometimes) numbers
The menu entry Change -> X mirrored modelling has to be set.
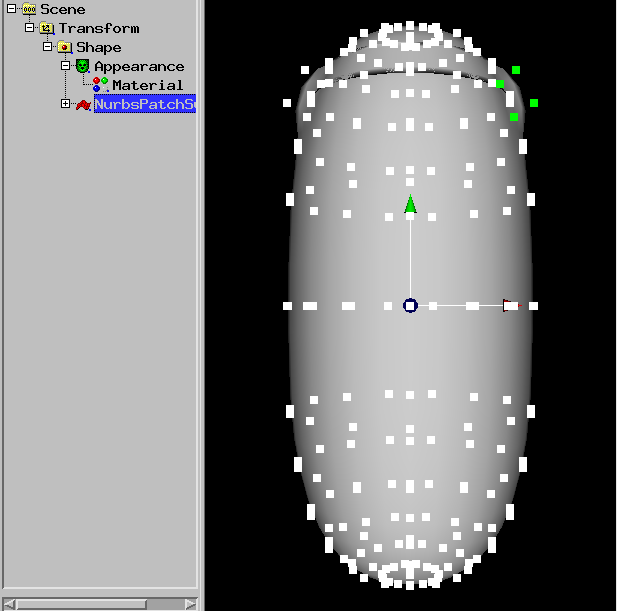
We add a "Superegg" (Superellipsoid) with New -> 'Superegg'.
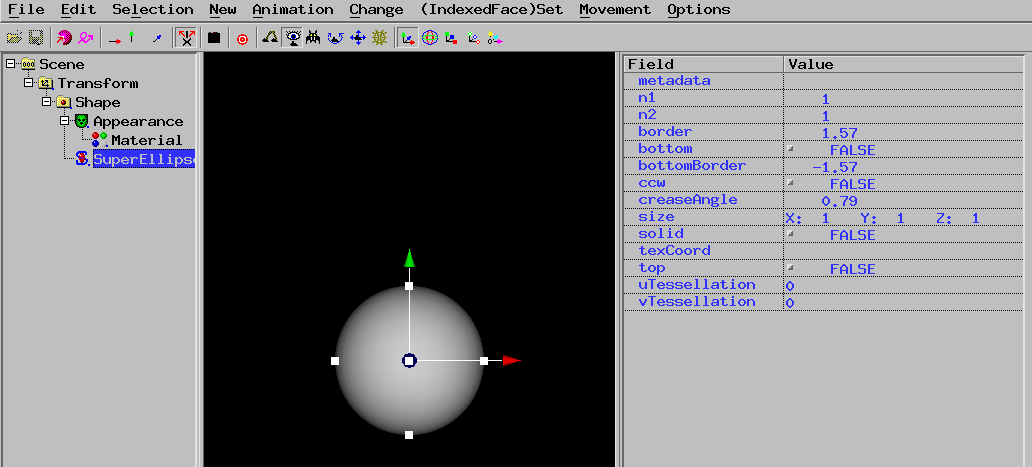
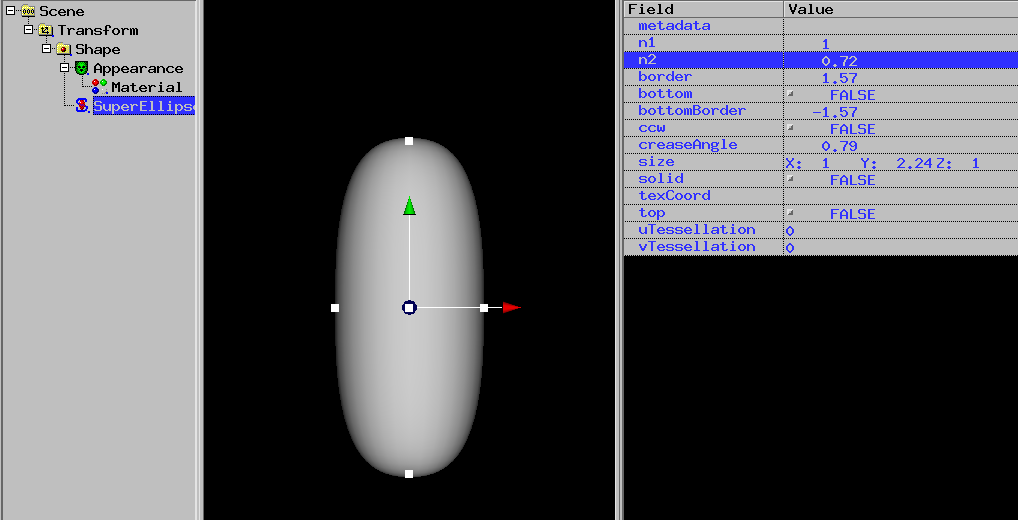
The "n2" paramter has to be changed, to make the body more bluff.
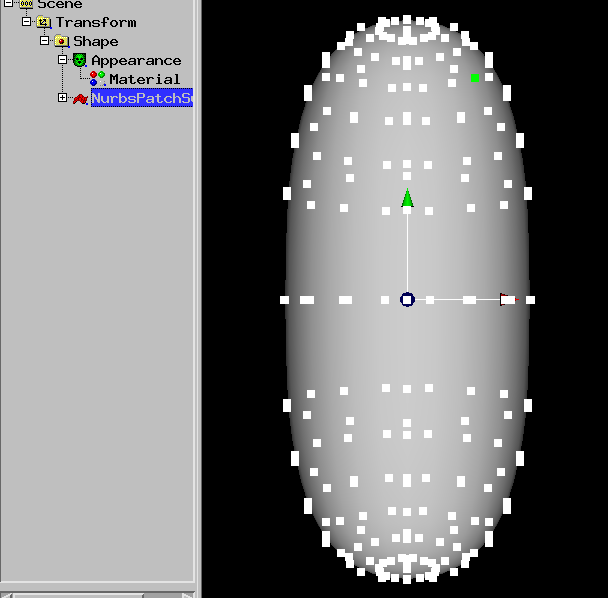
Use Change -> Male deformable (NURBS).
A dialog will open:
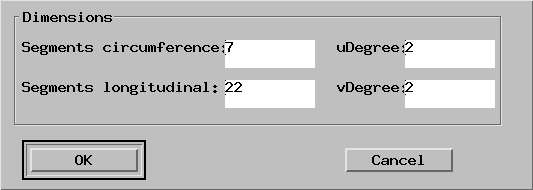
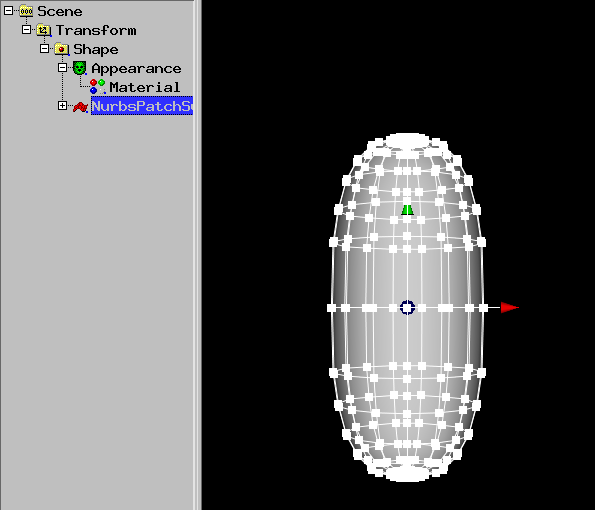
In this dialog, you need to change the numbers and press OK.

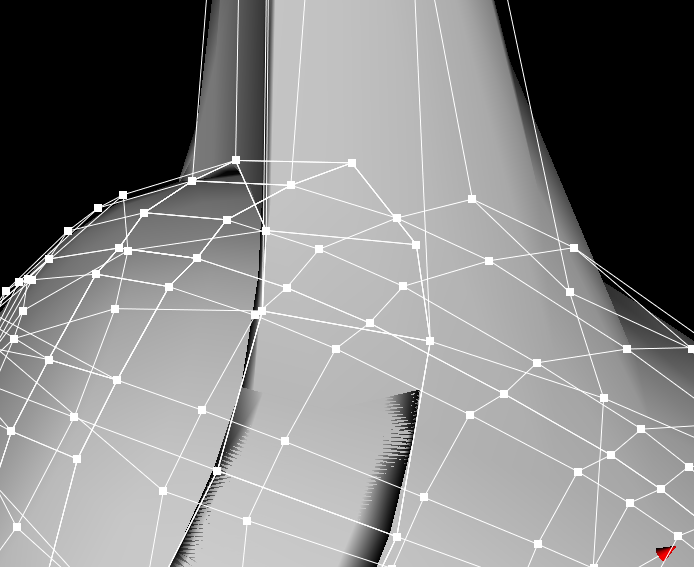
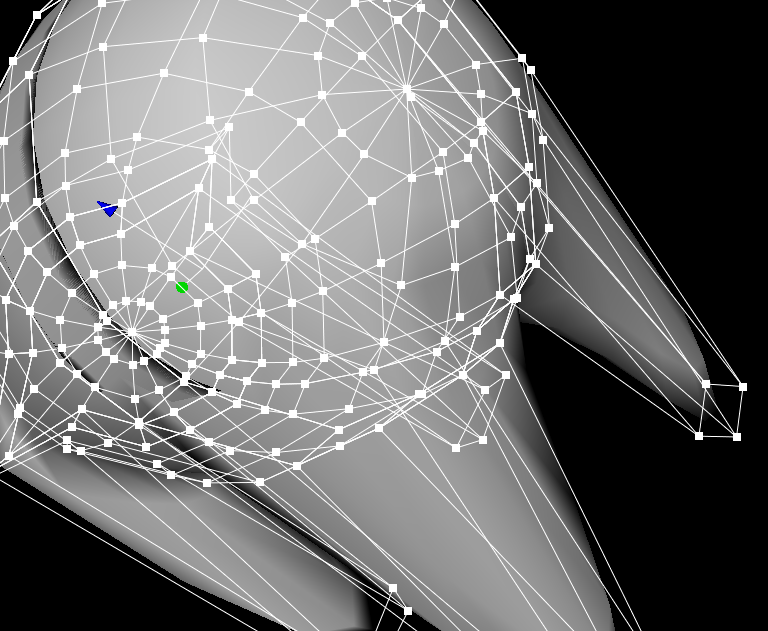
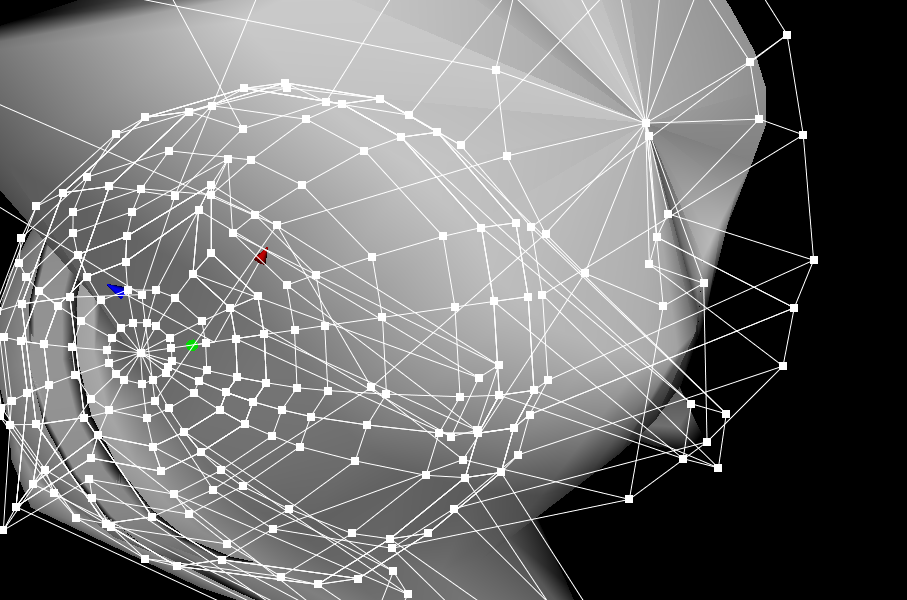
A grid on the object will appear.
Instead of using the next steps (NURBS extrusion), the
vertex modifier can
be used...
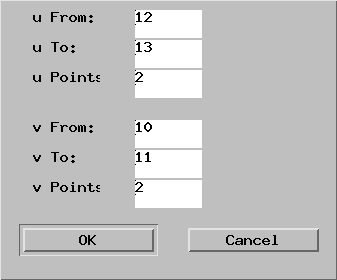
Click (select) a point, which is wide enough from the mid of the object.
Use Selection -> Neighbours -> u.
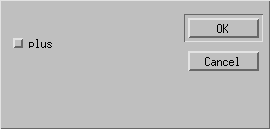
A dialog will open:
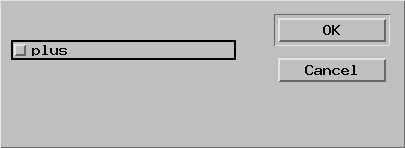
In this dialog press the "plus" button and press OK.
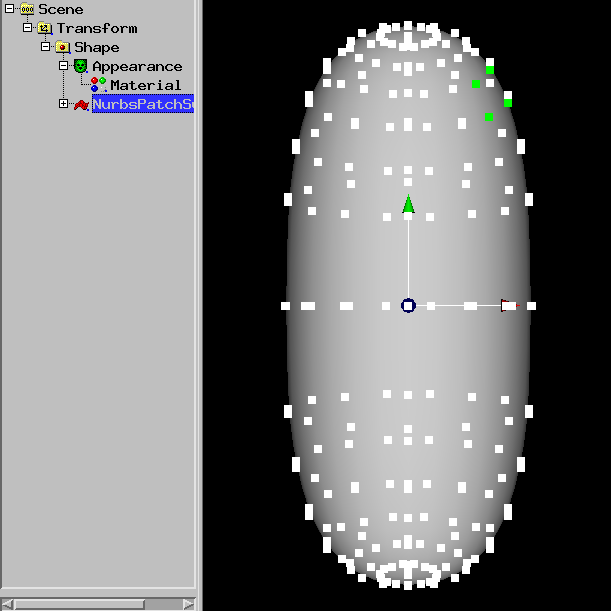
Use Selection -> Neighbours -> v
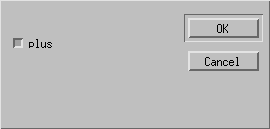
A dialog will open:
In this dialog press the "plus" button and press OK.
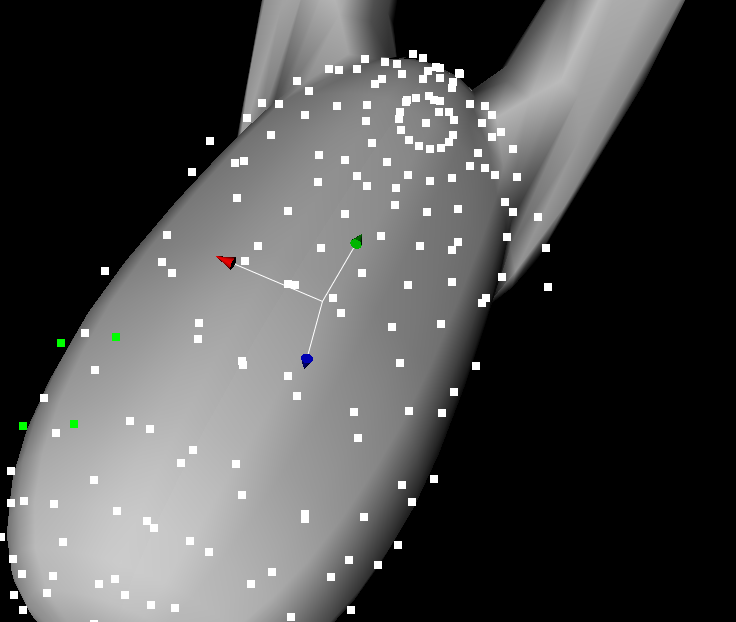
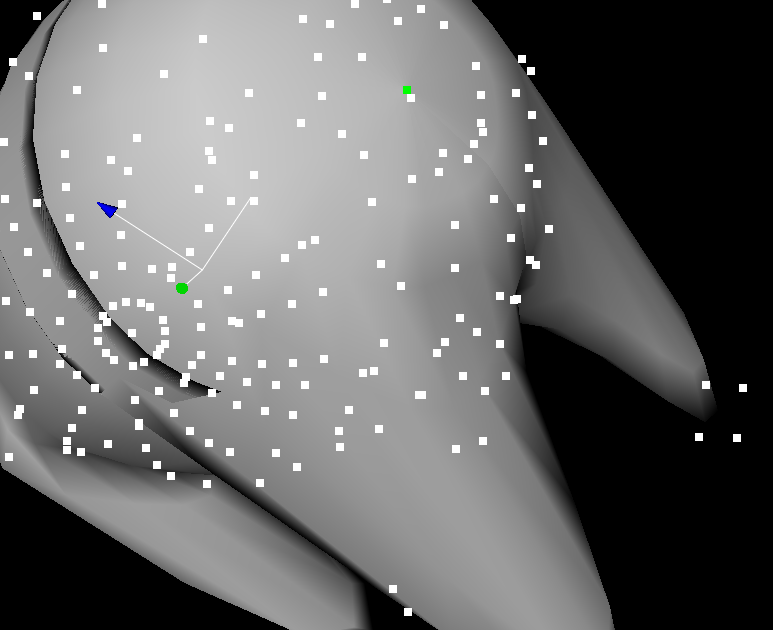
4 points have been selected
Use Change -> Extrude NurbsSurface
A dialog will open:
Press OK.
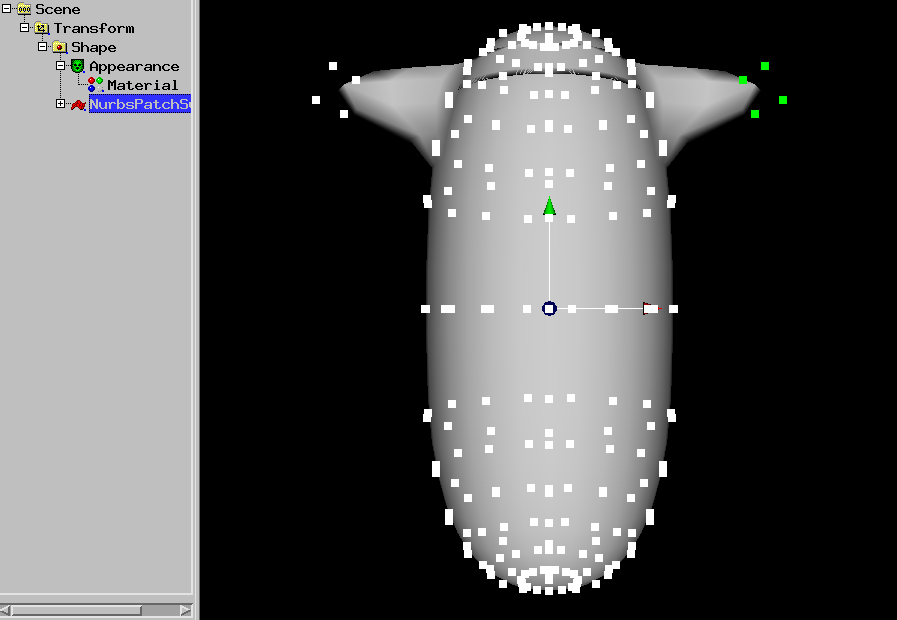
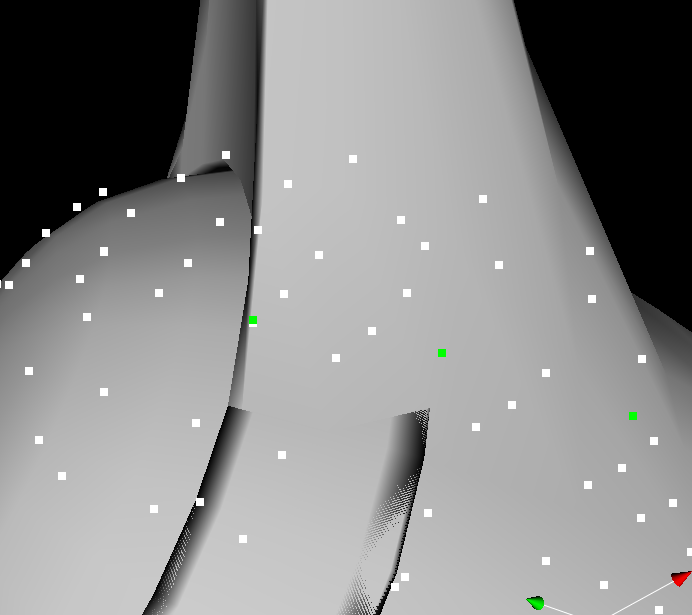
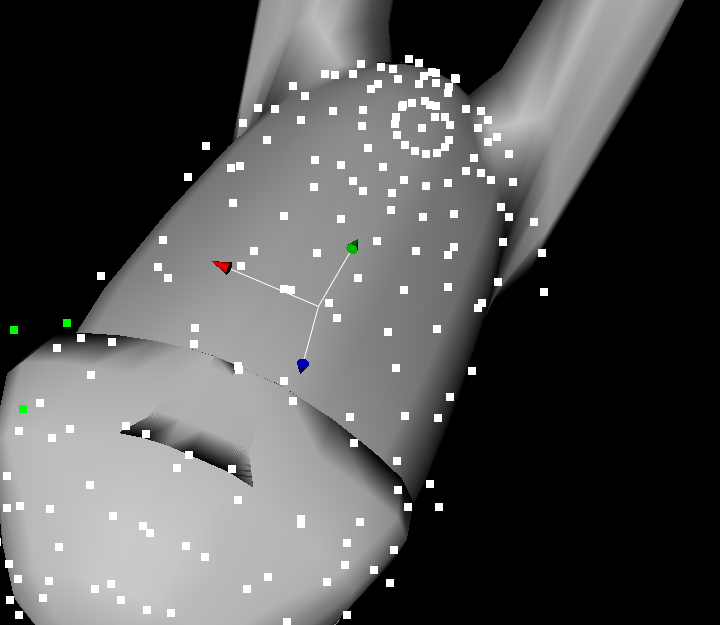
Cause Change -> X mirrored modelling has been set, the NURBS
object is extruded at each side
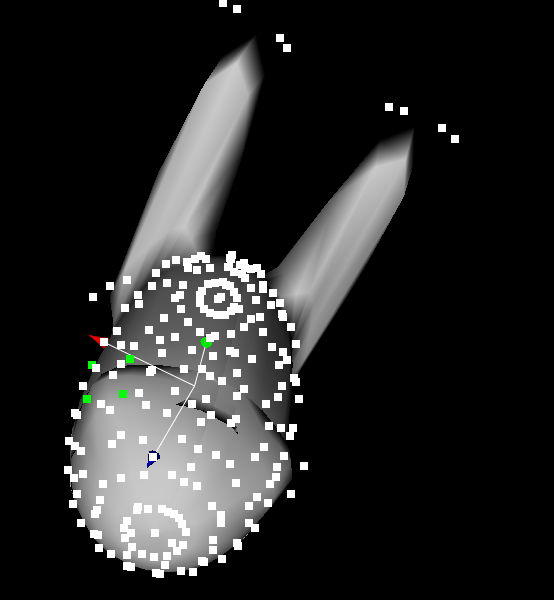
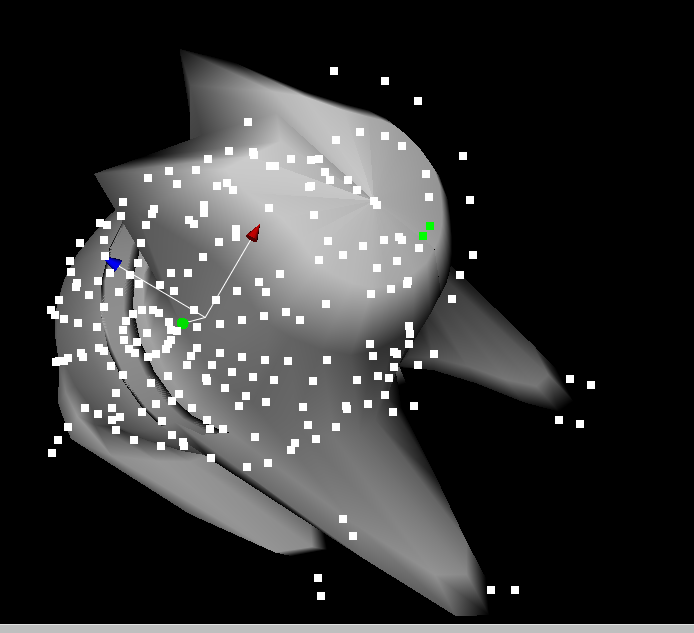
Drag a green point with the mouse and pull the points out (point to
a green point, hold down the left mouse key and move the mouse).
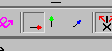
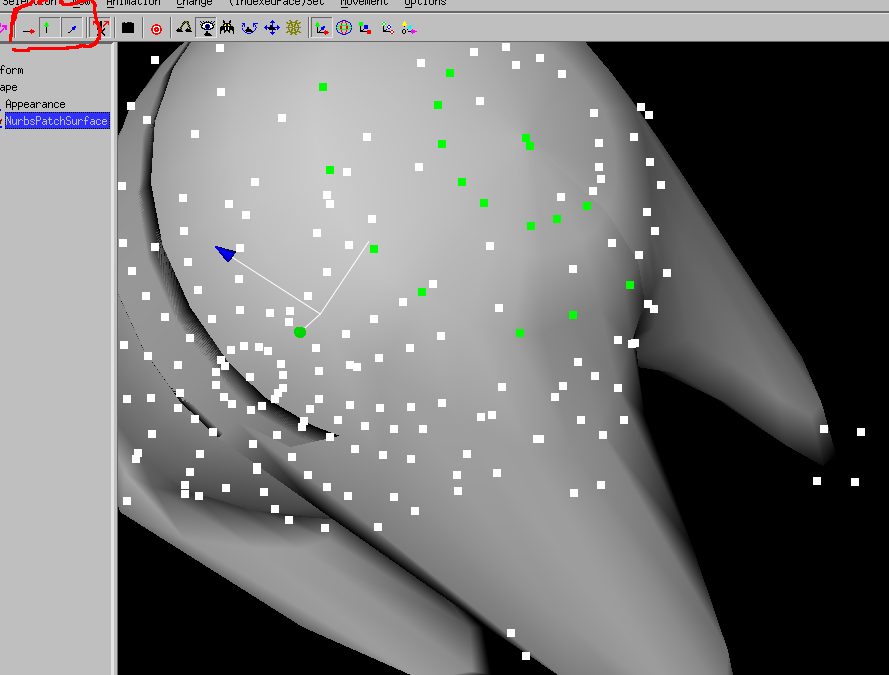
You should press the "Mouse Navigation" button

and rotate the object near to the X/Z (red/blue) plane.
Drag the green points to the z (blue) direction.
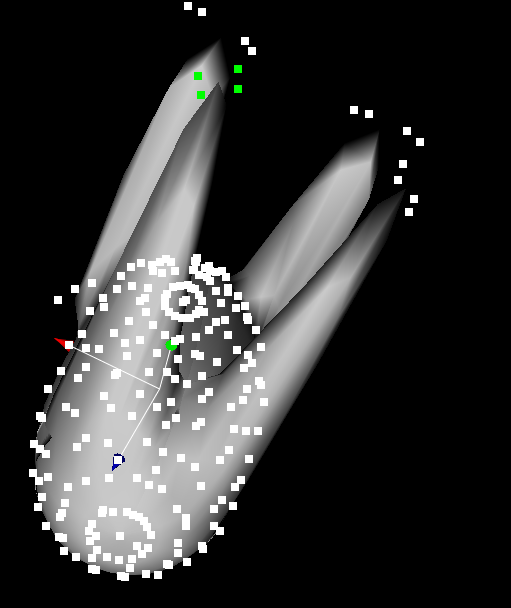
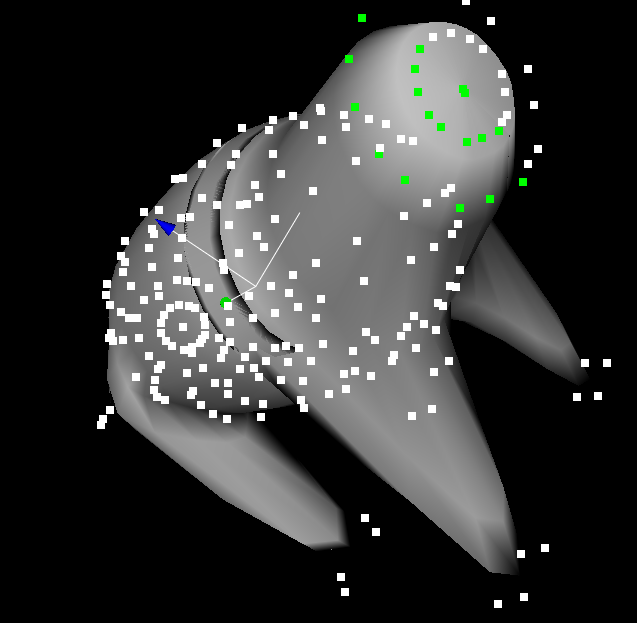
Zoom to the object (middle mouse drag) to repair some points,
Select the right points with drags of the right mousebuttons.
Limit the mouse movement to the X (red) direction
Drag the points in the X (red) direction
Select some the points at the lower part of the leg.
Unlimit the mouse movement

Move the points with mouse.
Select more points with the mouse
and move then in X/Z (red/blue) direction.
Select a point on the other side of the object

Use Selection -> Neighbours -> u
A dialog will open:
Press the plus button and press OK.
Use Selection -> Neighbours -> v
A dialog will open:
Press OK.
4 points has been selected.
Use Change -> Extrude NurbsSurface and press OK in the Dialog.
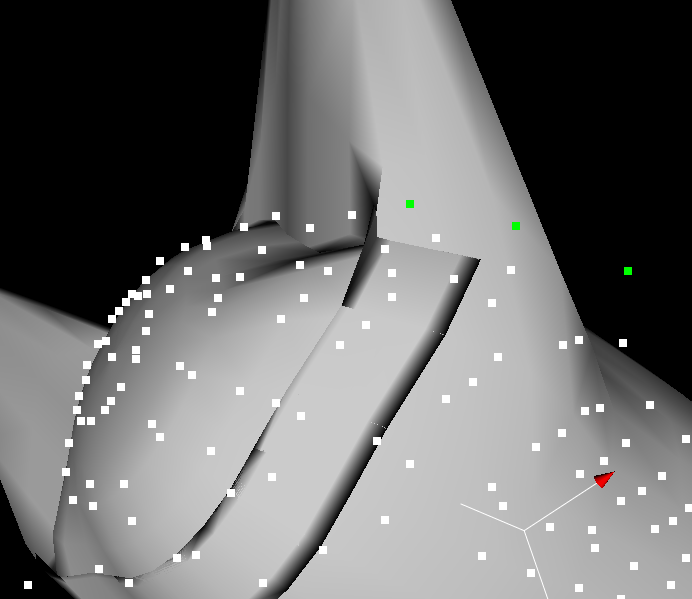
Press the "Mouse Navigation" button.

Release the "Mouse Navigation" button.
Move the green points in X/Z (red/blue) direction.
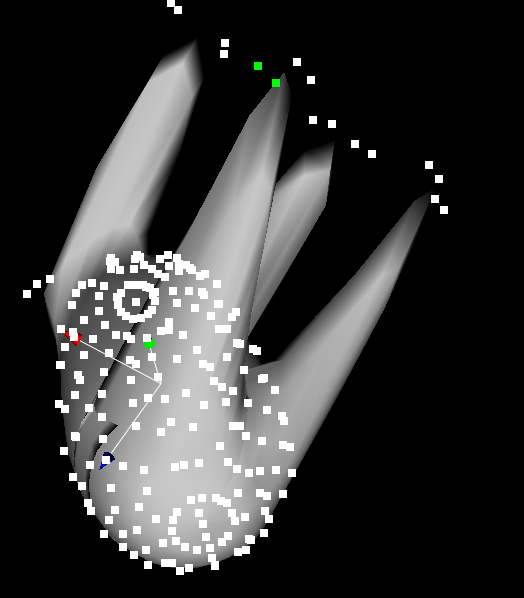
Navigate and highlight the grid.
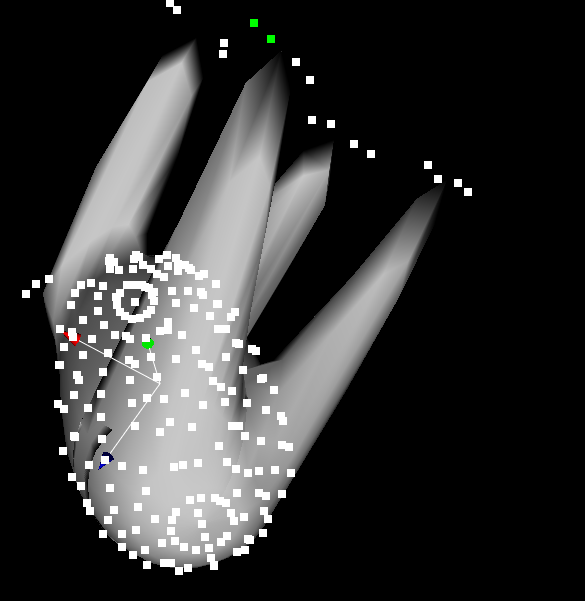
Select the upper mid of the object.
Use Selection -> Range and select a point two points away from
mid.
Limit the movement to X/Z (red/blue) directions.
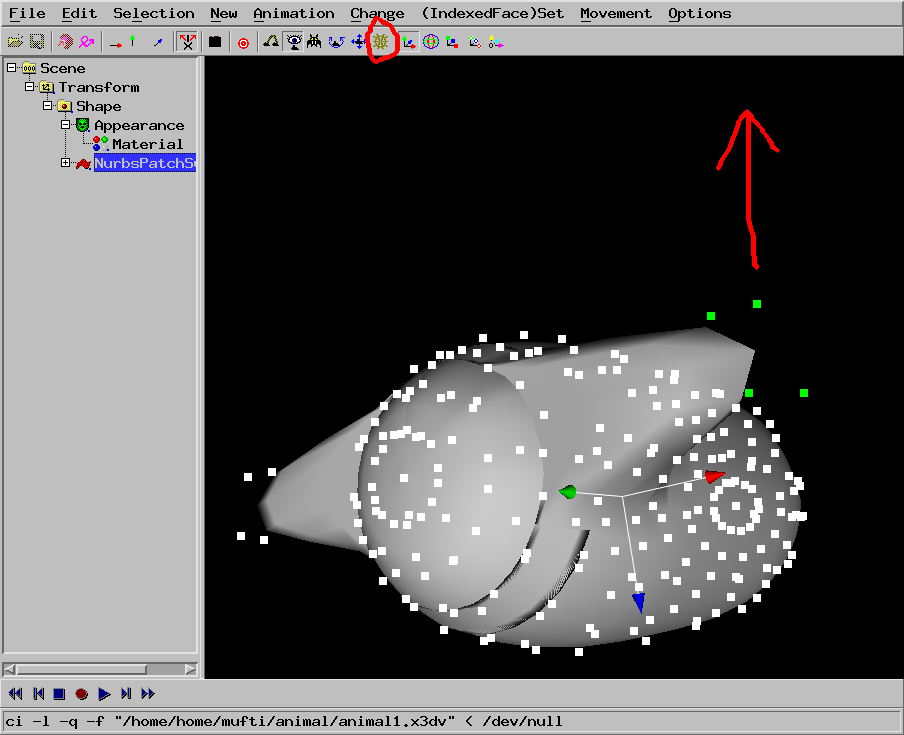
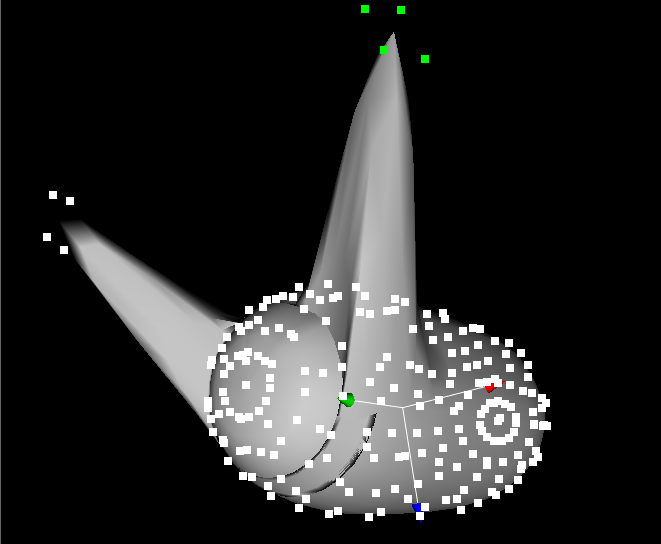
Drag the points to form a neck.
Select some points to form a mouth.
Drag the points.

Select some points and drag them to complete the mouth and create ears.
Navigate
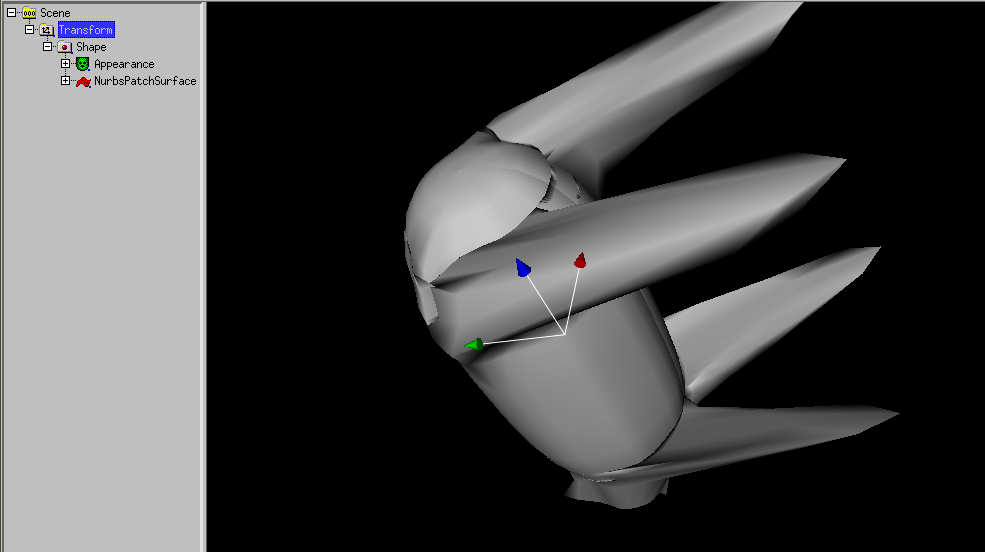
Select the NurbsSurface and use
Change -> Change to -> IndexedFaceSet
Save the file and reopen it in the full version of white_dune (if you
have no icon for this (M$Windows/Mac), use Options -> Start next
time with full white_dune version).
Animating the legs
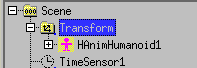
Use Create -> X3D misc Components > HAnim >
HanimHumanoid.
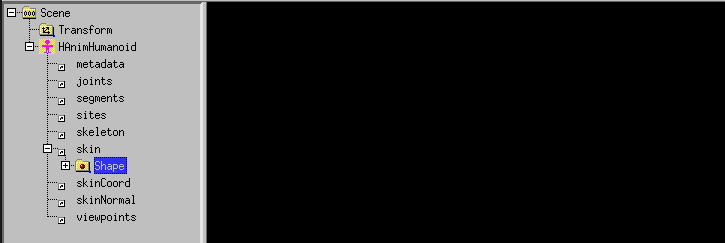
Move the shape node into the HanimHumanoid node.
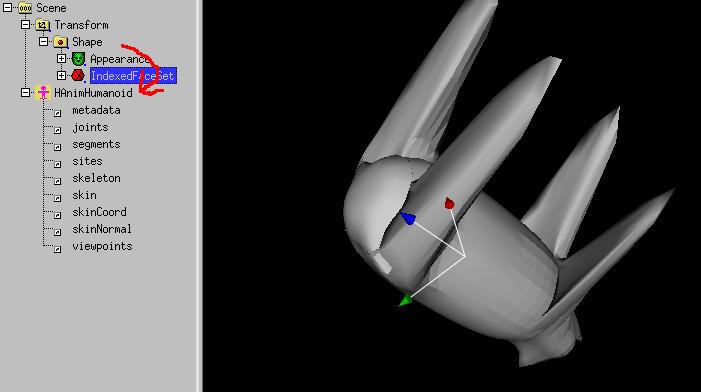
Attention, your object will not be visible for the next time.
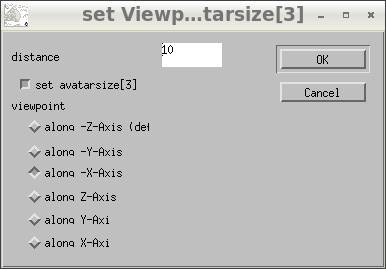
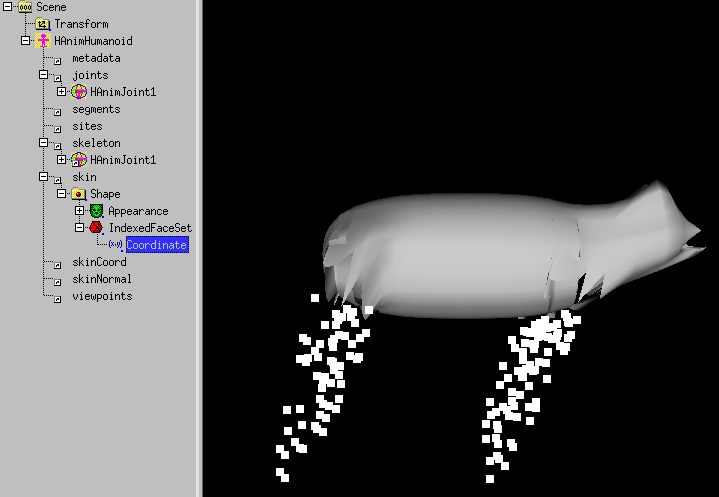
Set the viewpoint view Actions -> set Viewpoint to -x axis
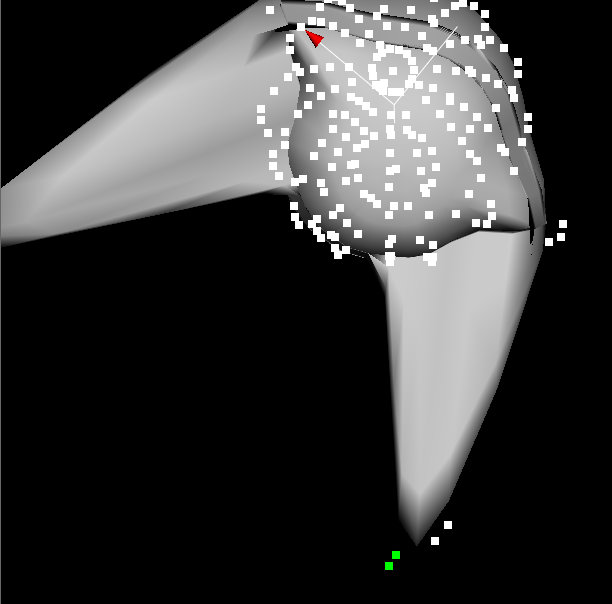
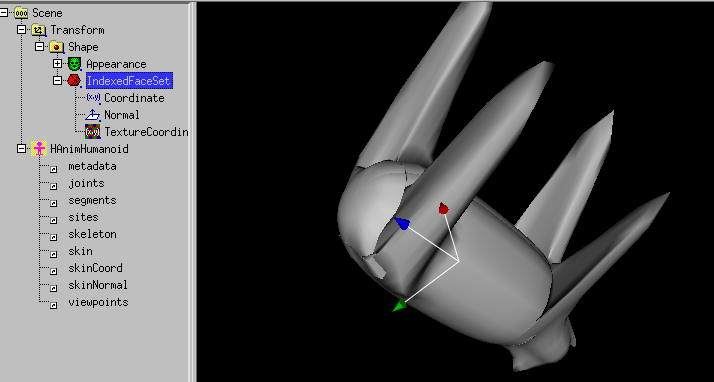
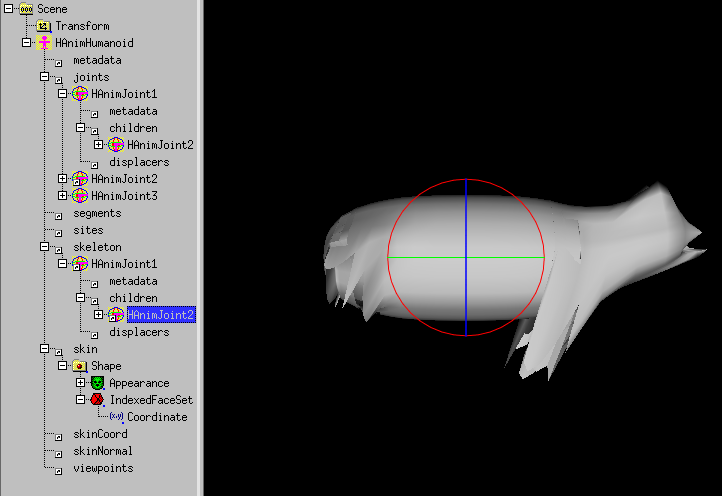
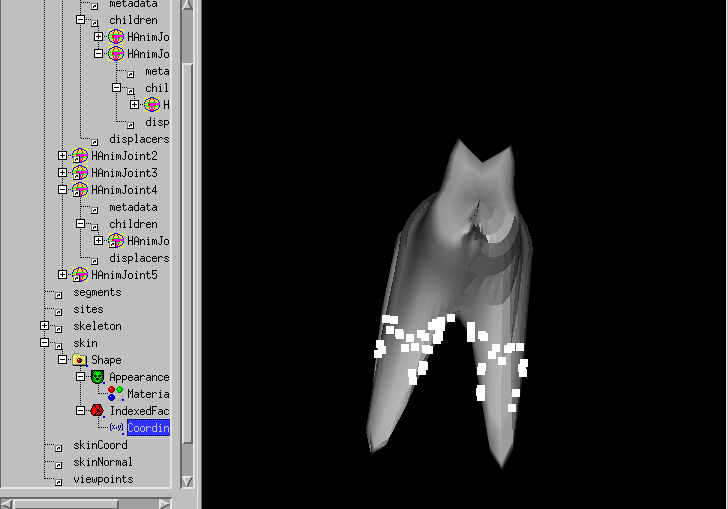
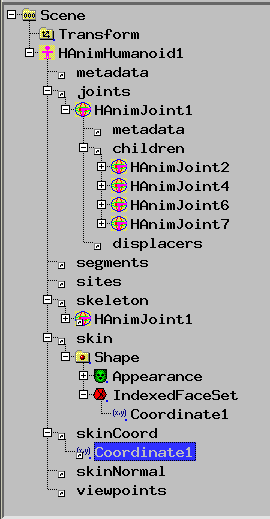
Select Coordinate in HAnimHumanoid/Shape/IndexedFaceSet
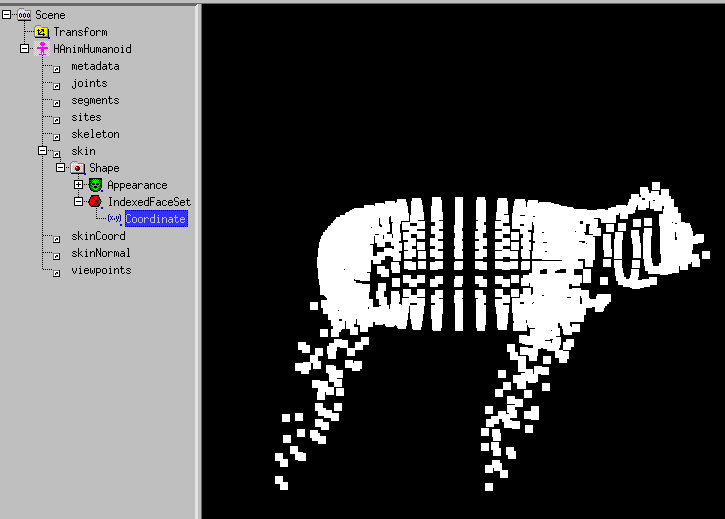
Drag the right mouse button to select the most of the body.
You usually need more than 1 drag.
Use Selection -> HAnimJoint weight.
Use Create -> X3D misc Components > HAnim >
HanimJoint.
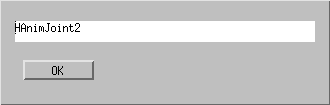
A dialog will appear
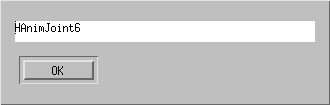
A DEF Dialog will appear
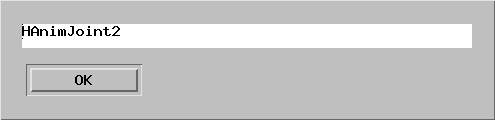
Press OK.
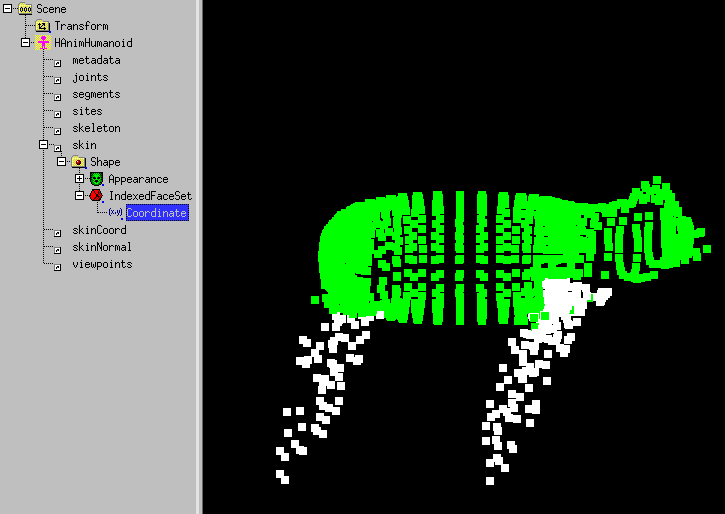
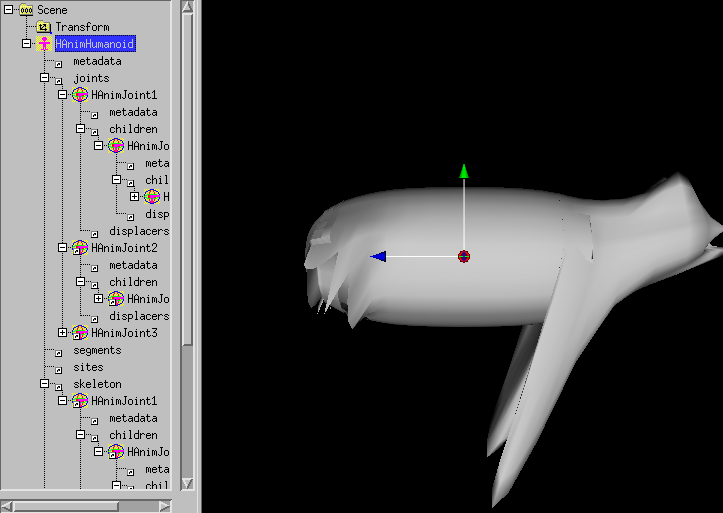
Select the skelekton field and use Edit -> USE
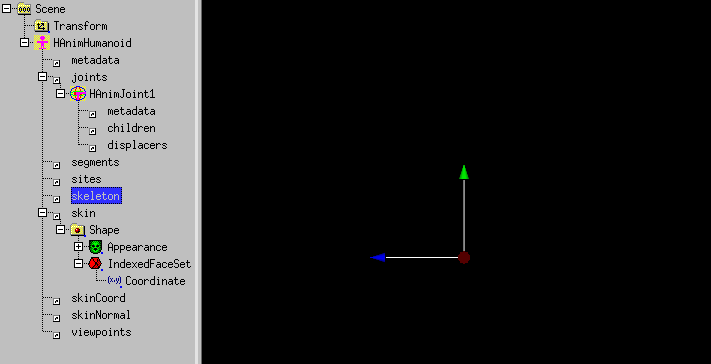
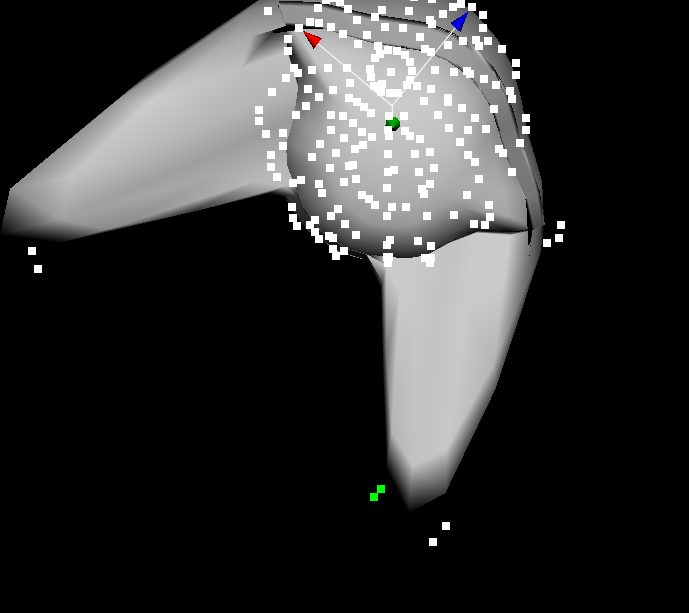
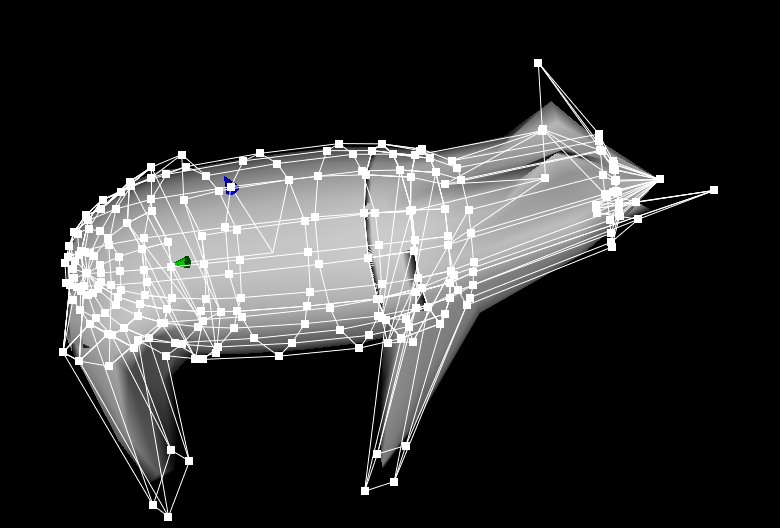
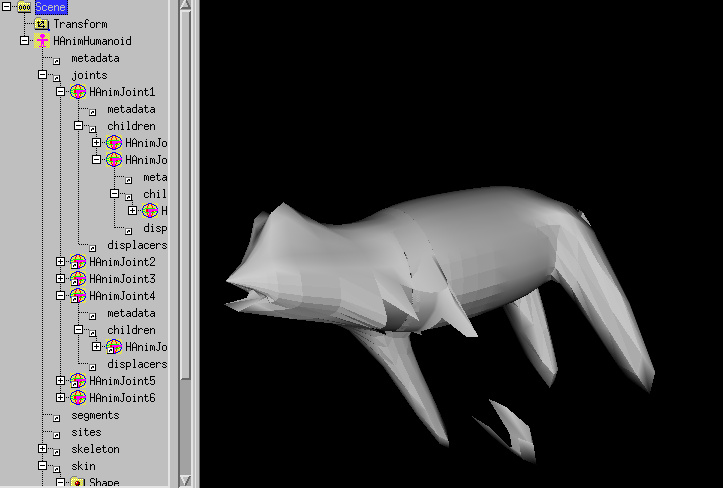
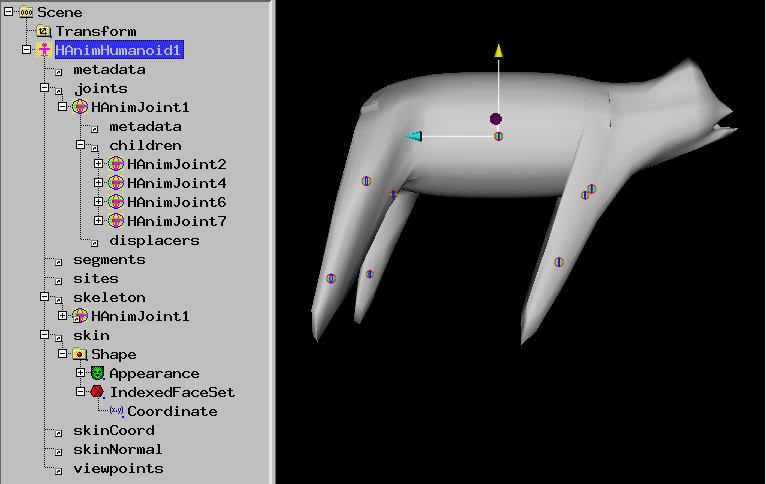
The body will appear:
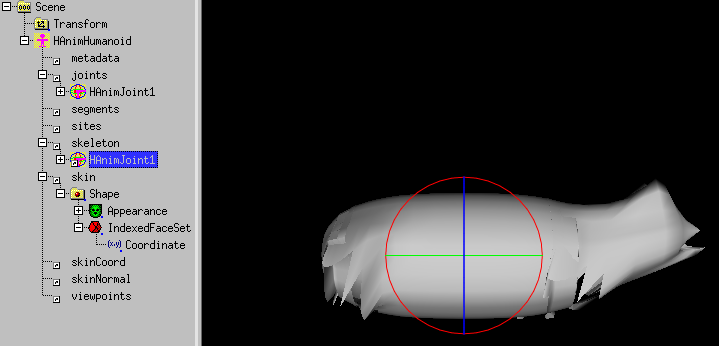
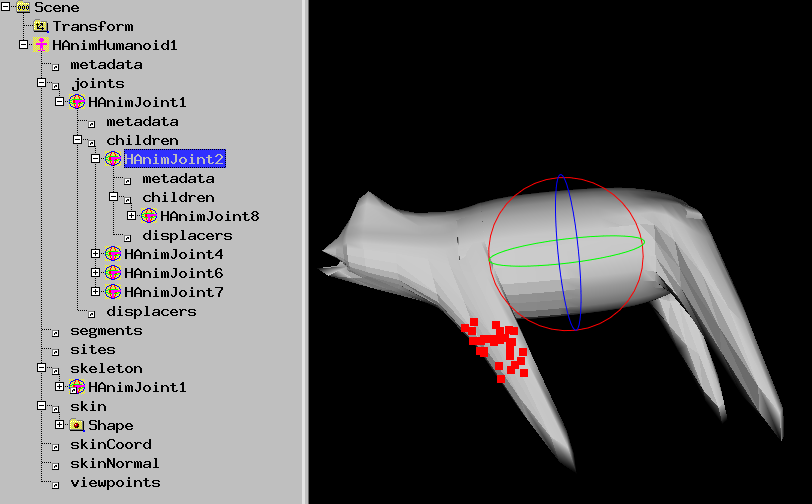
Select the HanimHumanoid node
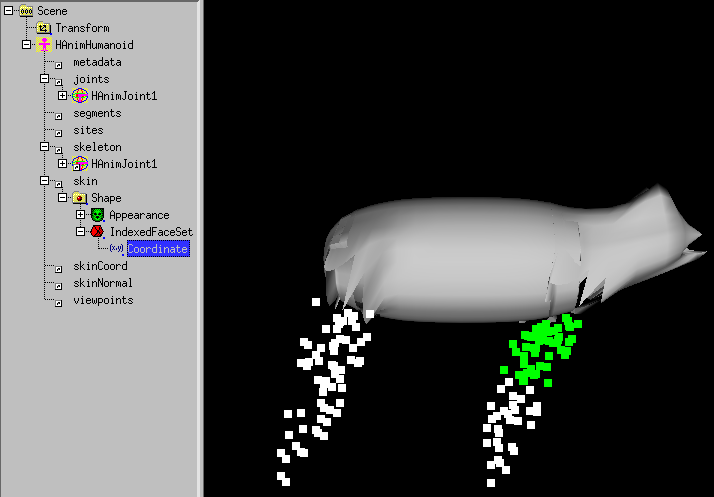
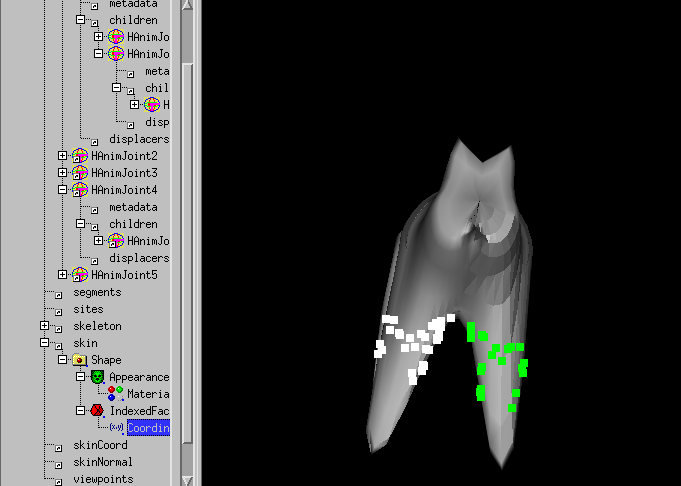
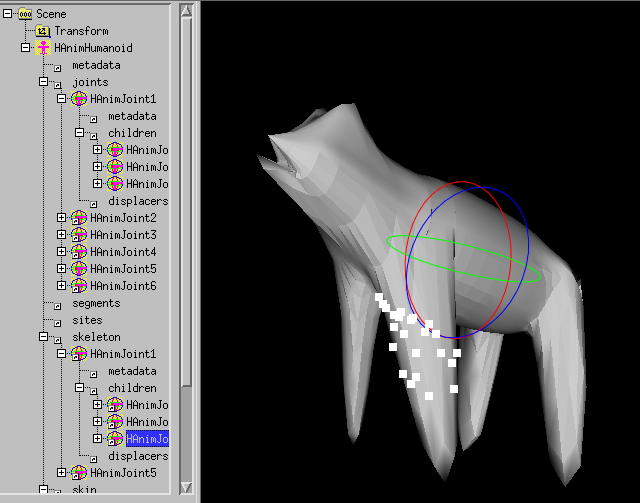
Select the Coordinate node.
Drag the right mouse to select the upper part of the leg
Use Create -> X3D misc Components > HAnim >
HanimJoint.
A dialog will appear
A DEF Dialog will appear
Press OK
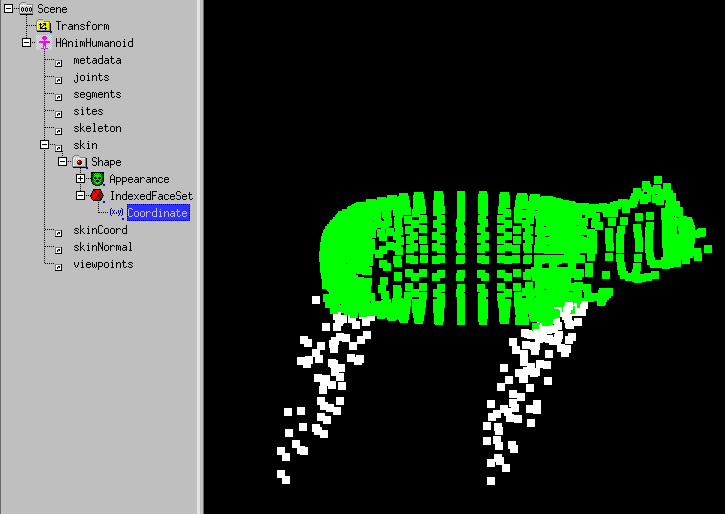
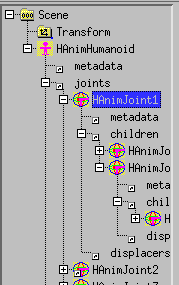
Select the first HAnimJoint in skelton
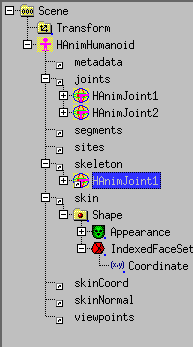
and use Edit -> USE
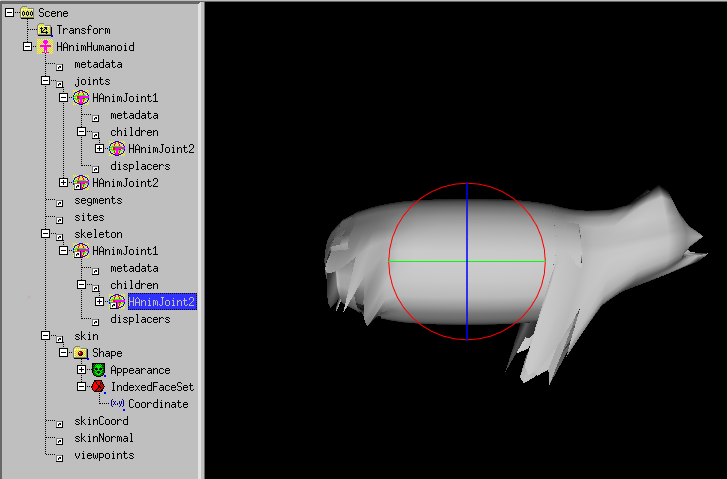
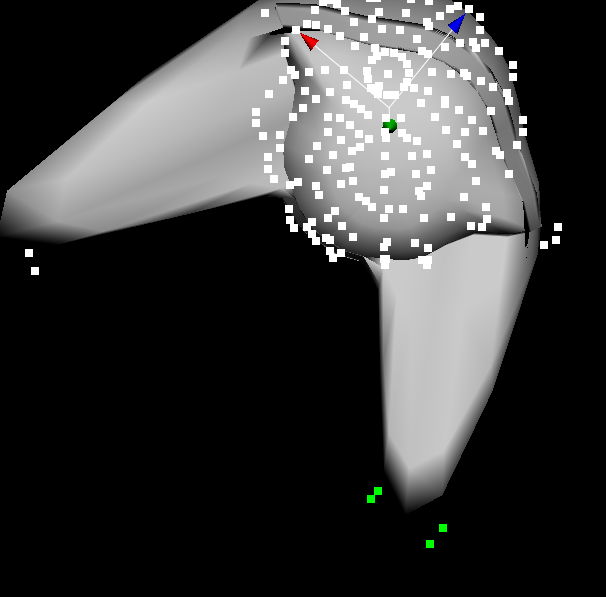
Select the HAnimHumanoid node
Select the Coordinate node and select the upper part of the leg.
Use Create -> X3D misc Components > HAnim >
HanimJoint.
A dialog will appear

A DEF Dialog will appear

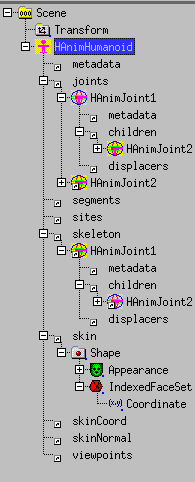
Select the joint of the upper part of the leg
and use Edit -> USE
Goto Getting a leg to repeat the commands for the
other leg pair (cause for the X mirred modelling, the other side leg has
been created too).
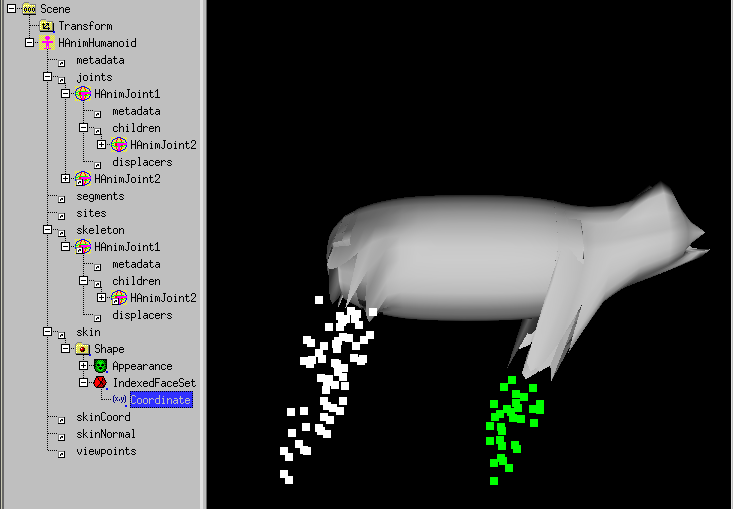
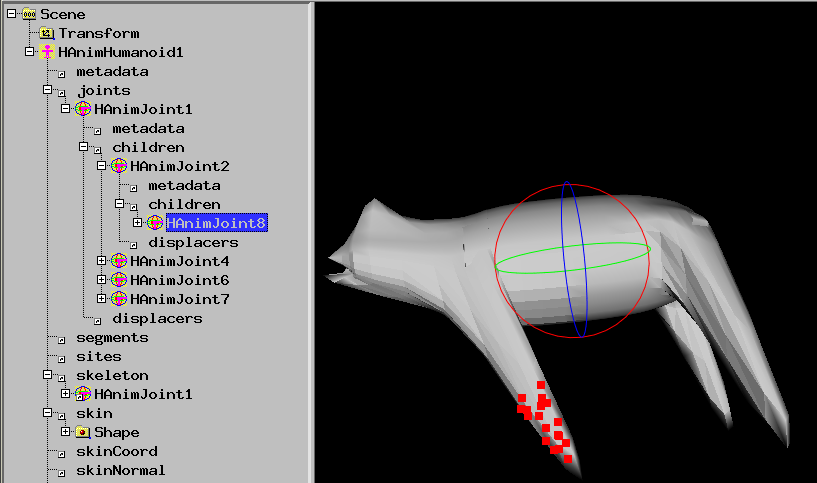
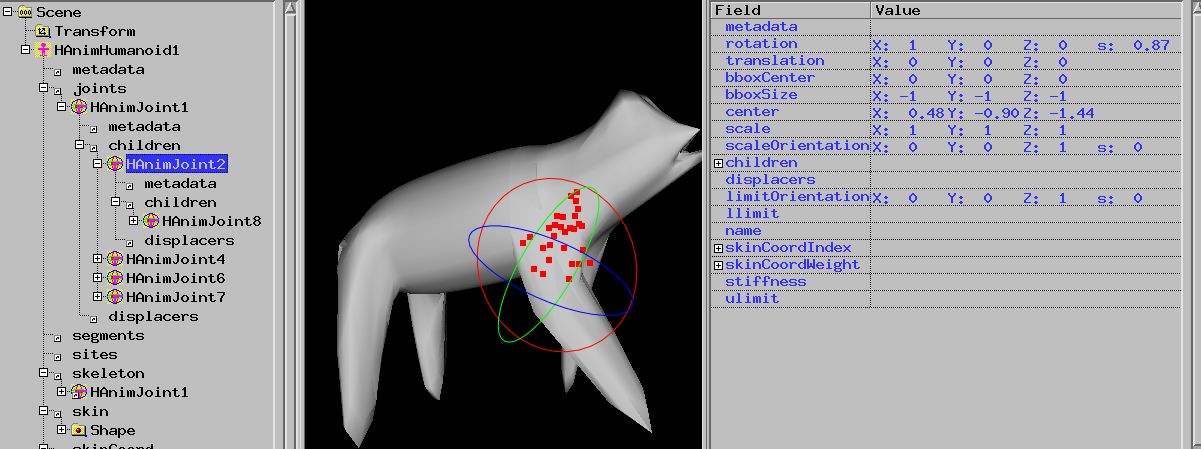
Splitting the leg pair
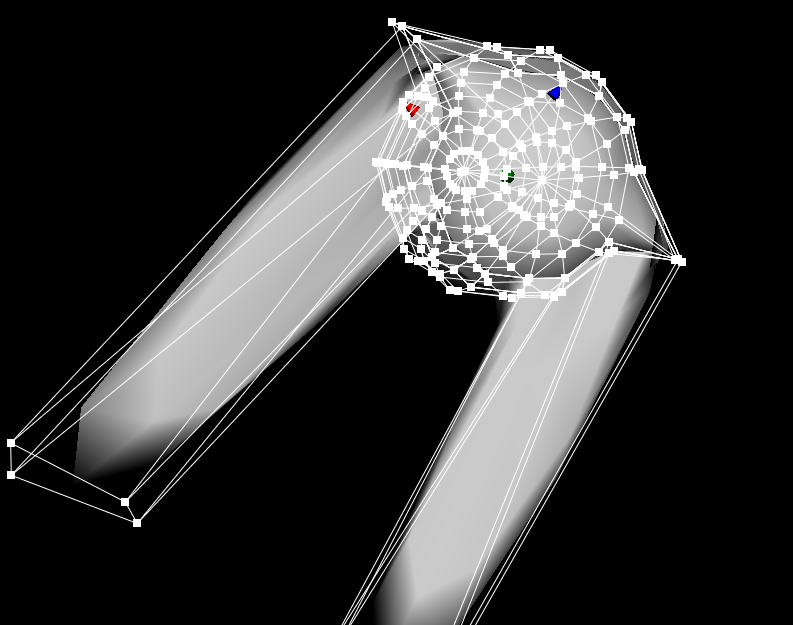
Select the leg pair you want to split
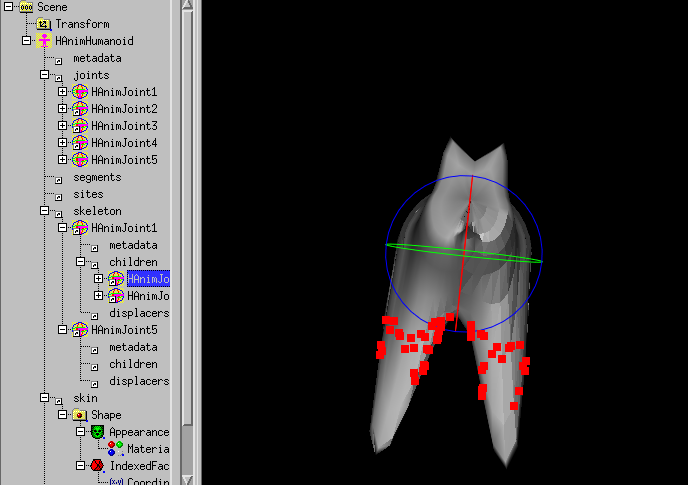
Select the Coordinate node
Select the points you want to split
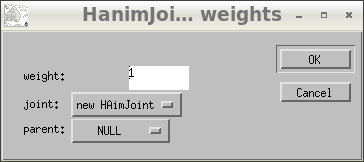
Use Actions -> HAnimJoint weight > Set HAnimJoint weight.
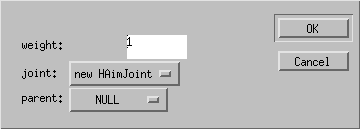
A dialog will appear:
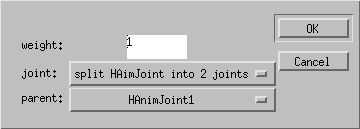
Select "split HAimJoint into 2 joints" as "joint:" and press OK.
A DEF Dialog appears:
Press OK.
Select the first HAnimJoint and use Edit -> use
Continue with splitting the next leg pair.
There are 3 leg pairs left.
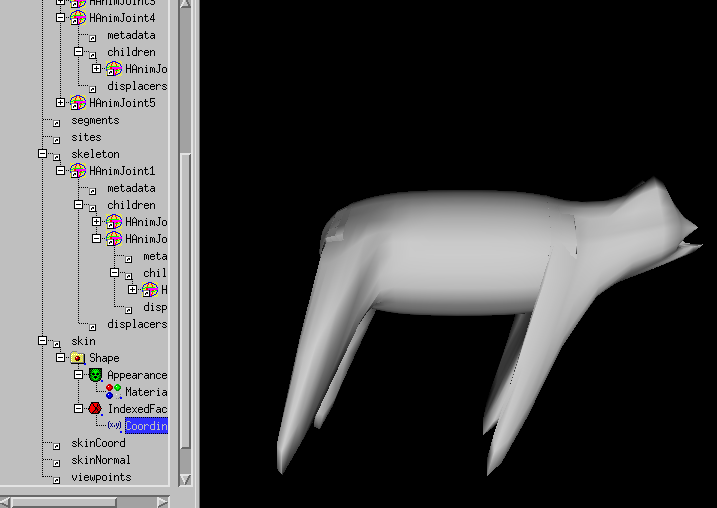
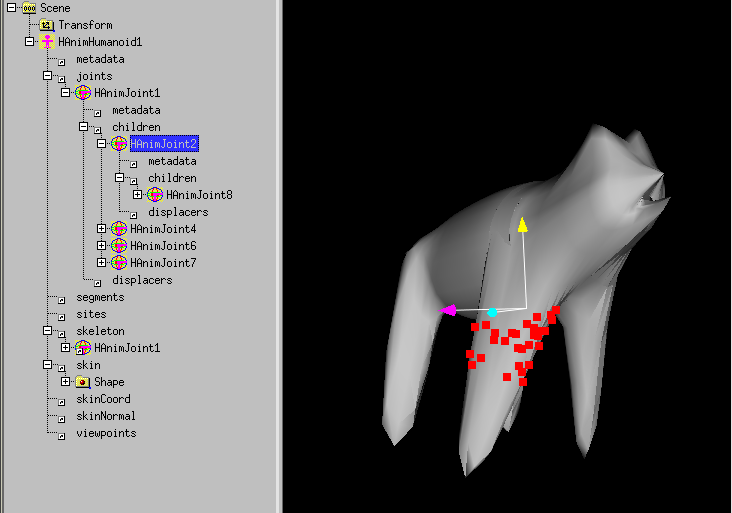
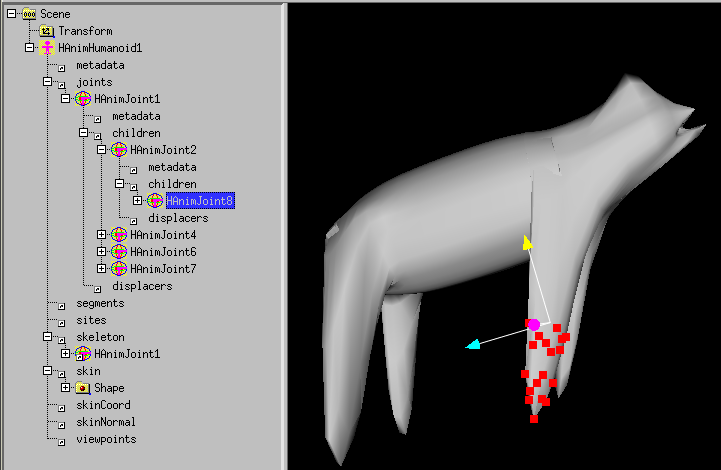
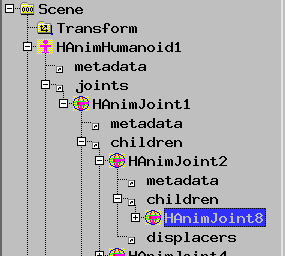
Move the joints in the skeleton, so that the lower part of the legs are
children of the HAnimjoint of the upper part of the leg.
Move the joints in the skeleton, so that the upper part of the legs are
children of the first HAnimjoint.
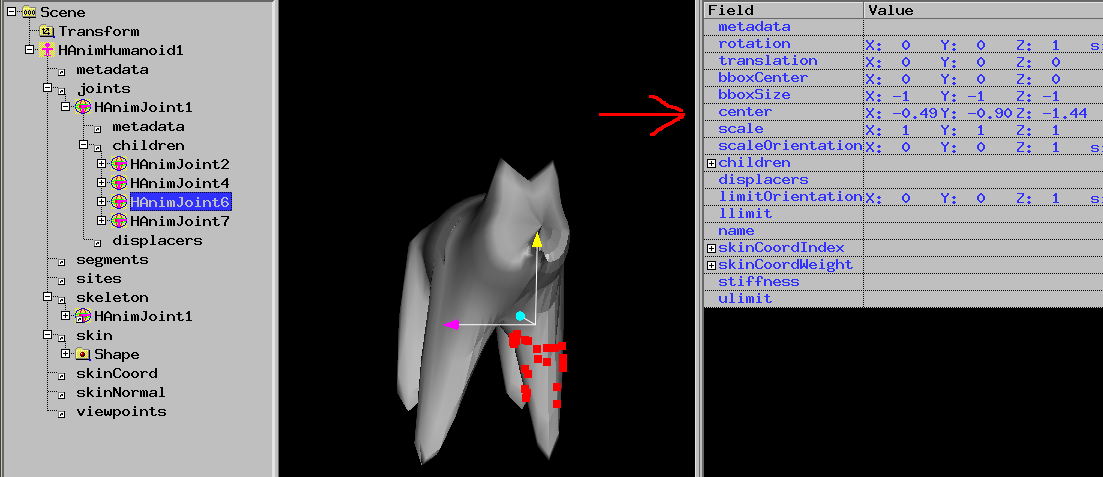
Use Mode -> Center to move the center of the joint to the place
where you want rotation.
The center must be correct in each X, Y and Z direction.
The center should be X symetric
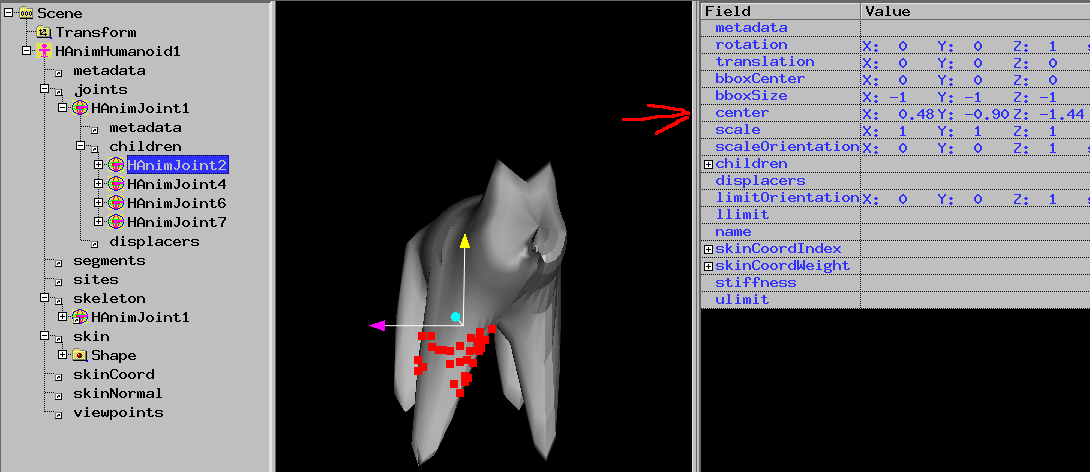
Select the symetric joint and set the center values accordingly.
You can select the "center"-field of the first joint, use
Edit -> Copy and then select the "center"-field of the second joint
and then use Edit -> Paste symetric -> x.
Set centers for each joint. There are 6 joints left.
Use Mode -> Move
The HAnimHumanoid is not complete. You need to set the skinCoord field with
the Coordinate node.
Select the Coordinate.
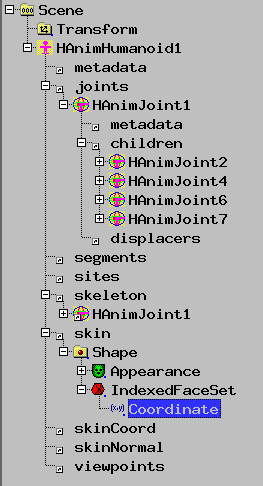
Use Edit -> DEF and press OK.
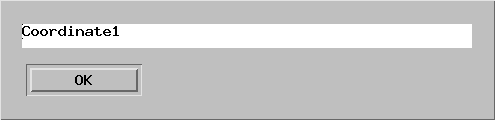
Use Edit -> USE
The joint handles are too small for this huge mdell.
Use Options -> Modelling Settings
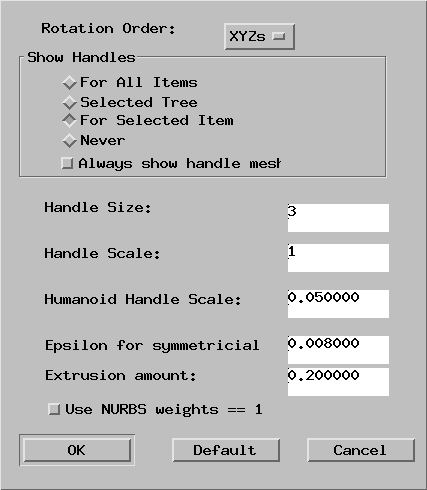
Change the value of the "Humanoid handle size" and press OK.

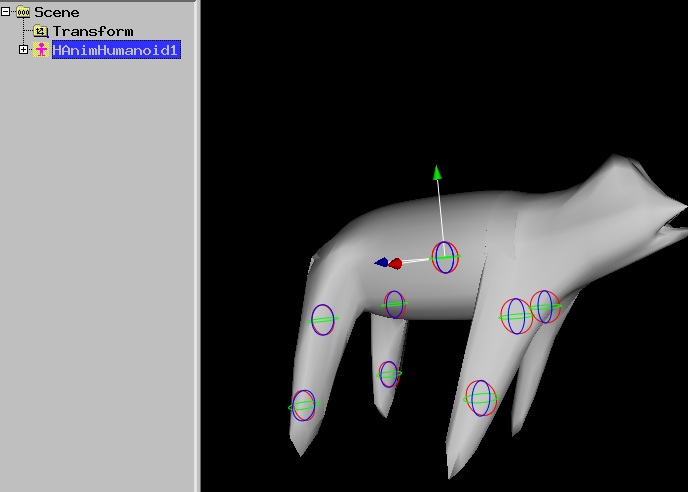
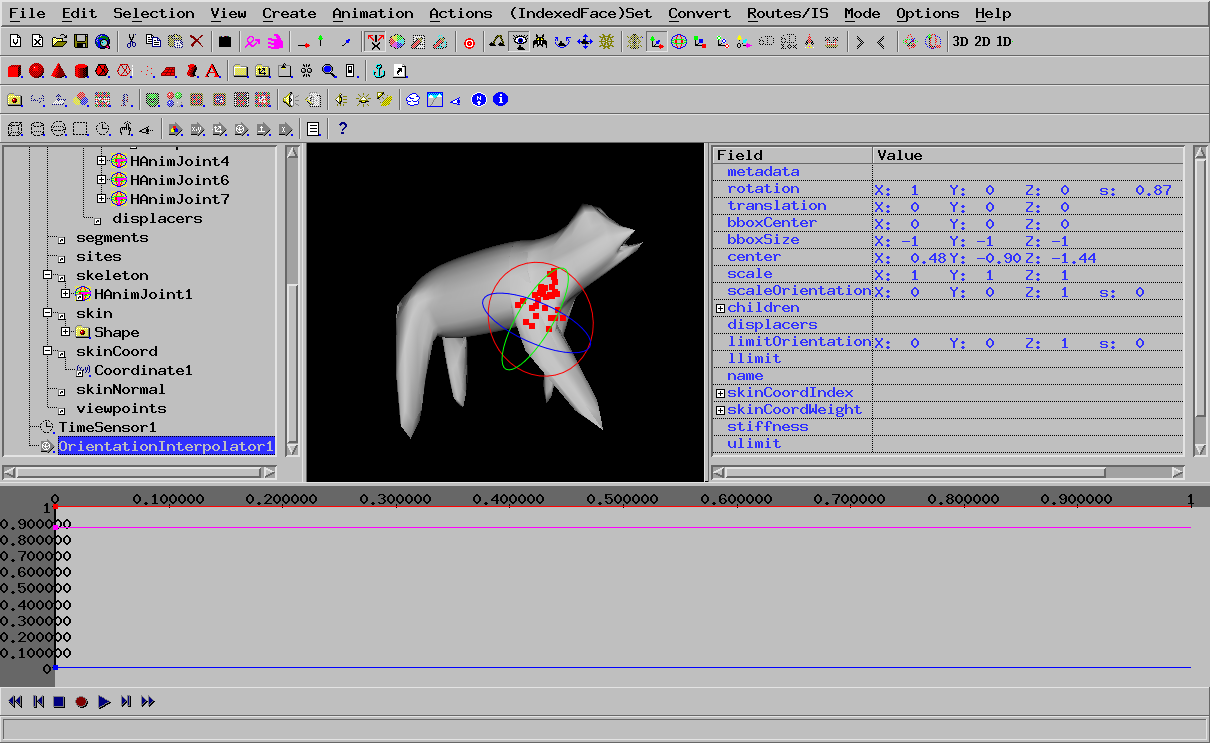
Click to the HAnimJoint handle for the leg you want to animate.
The handle becomes bigger.
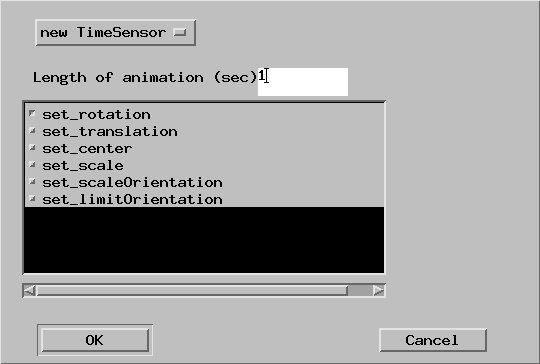
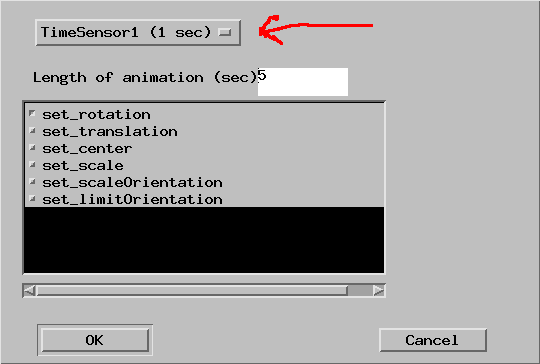
Click to the animation icon. A dialog will appear:

Set the length of the animation to 1 second and choose rotation.
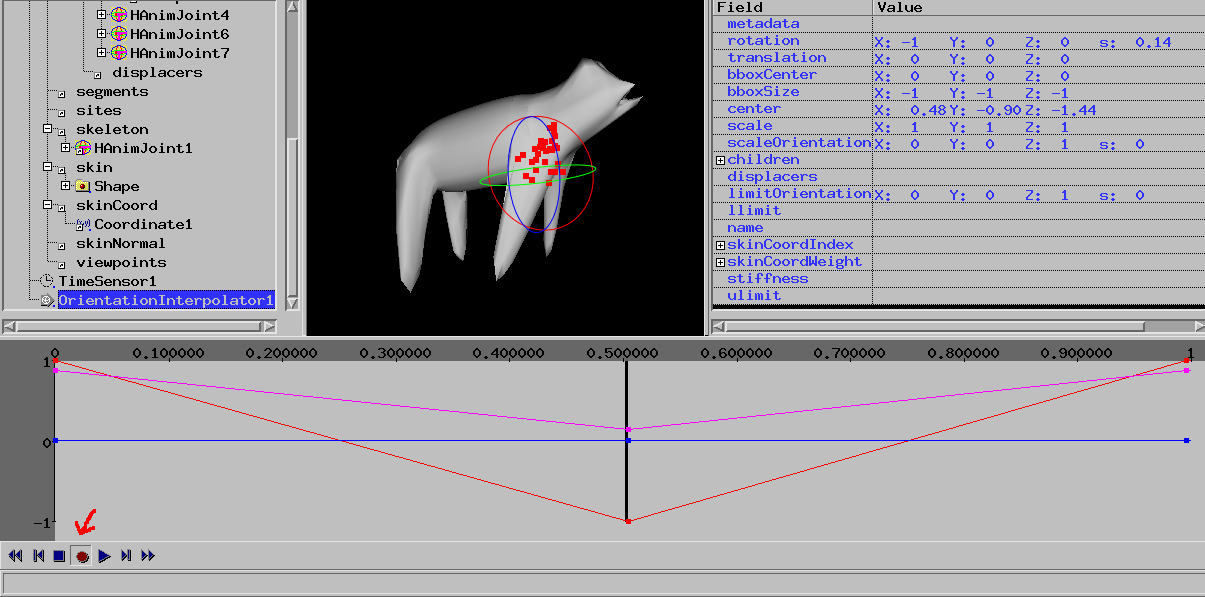
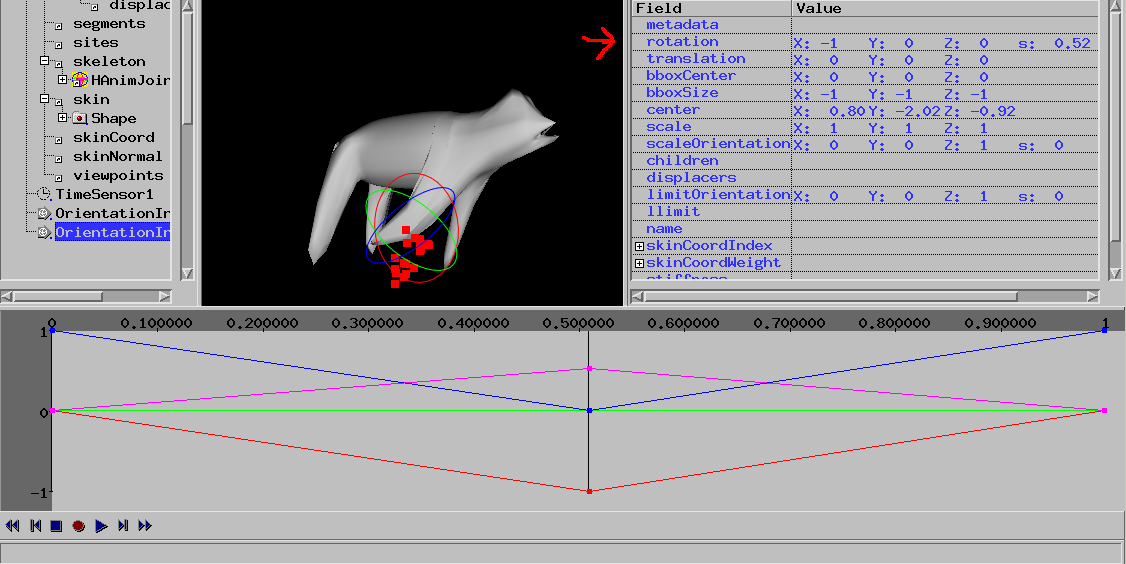
Use View -> Channel View
Add a point at the left side of the channel view.
This means that the animation will return to its first value at end of the
animation.

Set the channel view cursor to 0.5, press the record button, and change the
rotation of the joint.
Continue with the joint for the lower part of the leg
Click to the animation icon. A dialog will appear:

Reuse the old TimeSensor and choose rotation.
Add a point at the left side of the channel view.
Set the channel view cursor to 0.5, press the record button, and change the
rotation of the joint.
Continue animating the legs
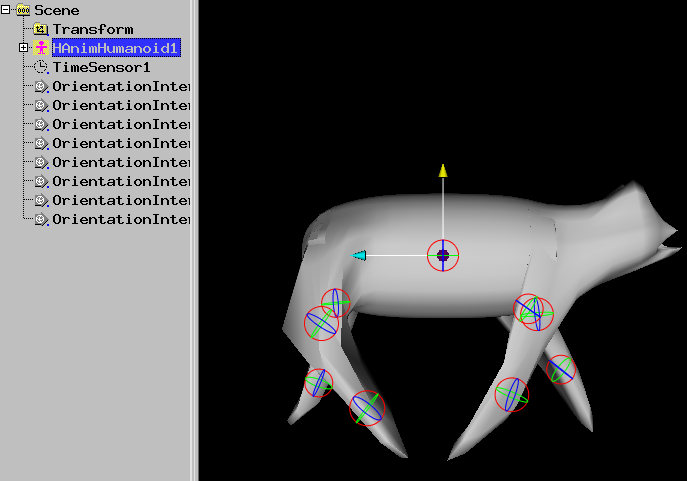
Adding eyes
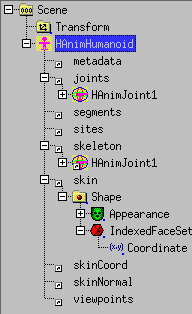
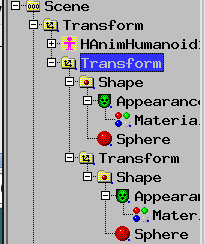
To add eyes, first move the HAnimHumanoid into the Tranfrom.
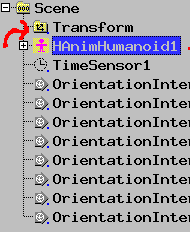
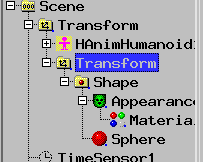
Select the Transform
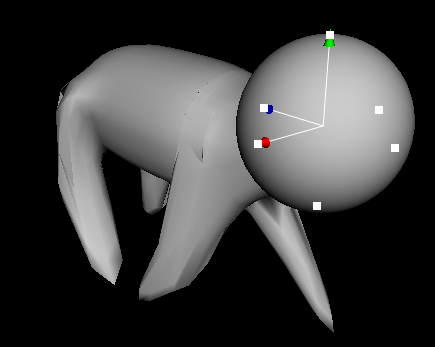
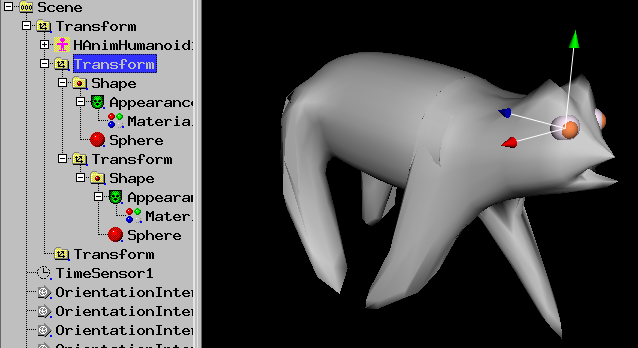
Use Create -> Shape -> Sphere

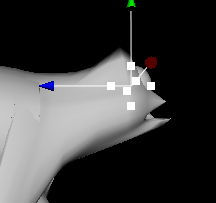
Move the Sphere to the intended position of the eye
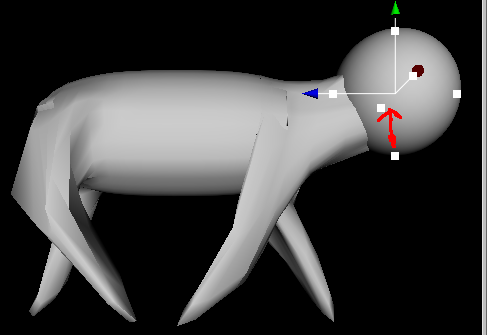
Make the sphere smaller
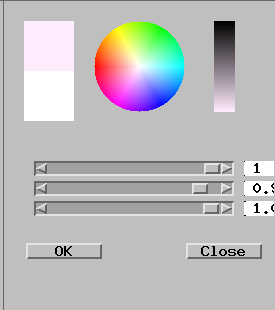
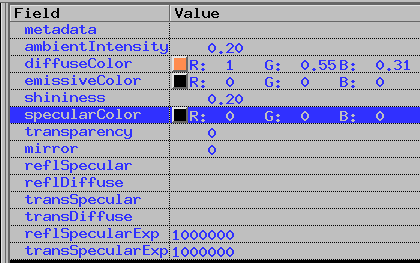
Select the Material node and select the diffuseColor field
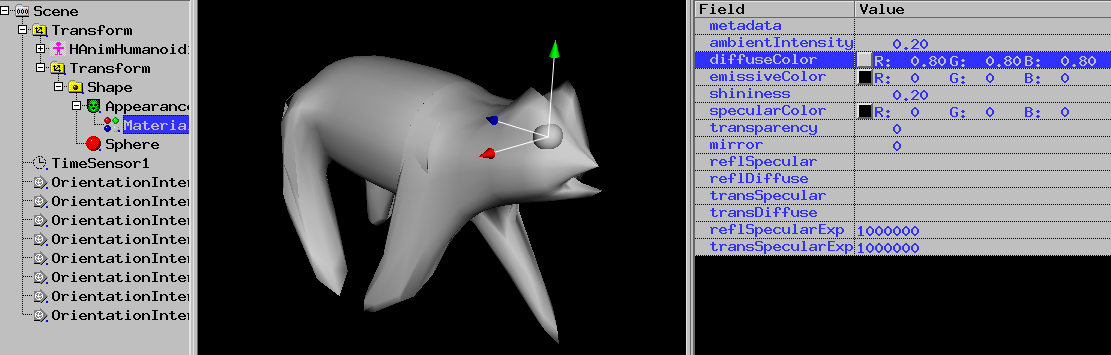
Press the Color Circle icon.

Choose a white color.
Select the second transform.
Use Create -> Shape -> Sphere
Make the sphere smaller and move it.

Select the Material node and select the diffuseColor field
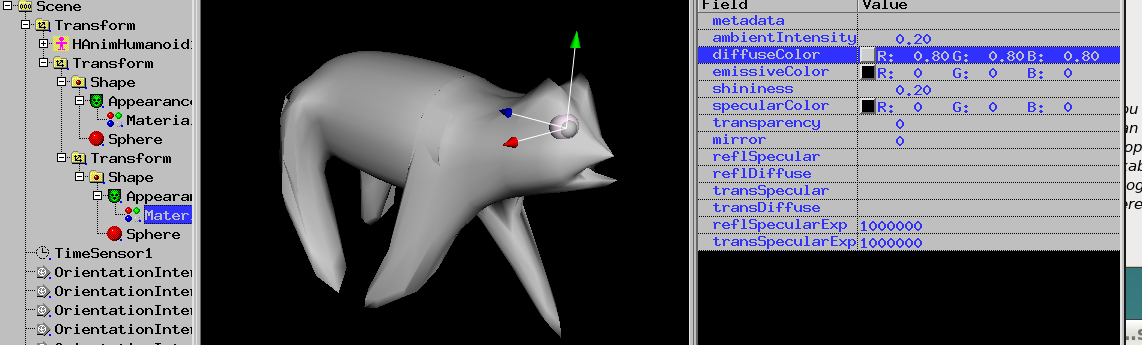
Choose a brown color, use the right bar to choose darkness.
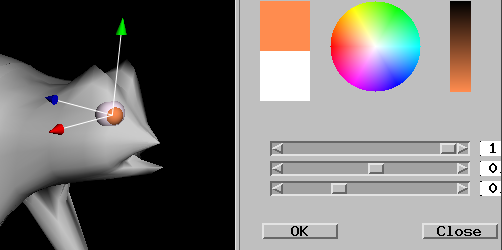
You can select specularColor to add a glow effect
Select the second Tranform.
Use Edit -> Copy and Edit -> Paste symetric -> x
Your animation is ready